Self-hosting Whoogle using docker
August 19, 2023 by Eirik Rolland Enger5 minutes
For some time I have been hosting my own website and a few subdomains on a server I rent via Vultr, but all of it have been placed directly in directories on the server itself. It’s all just been built sites lying there, with access to the internet via the domain I own.
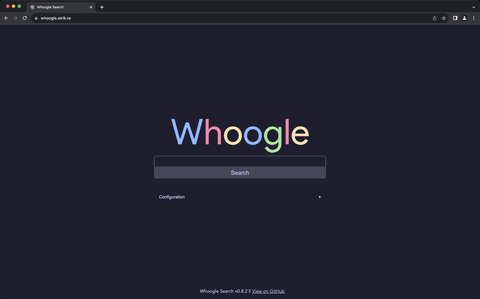
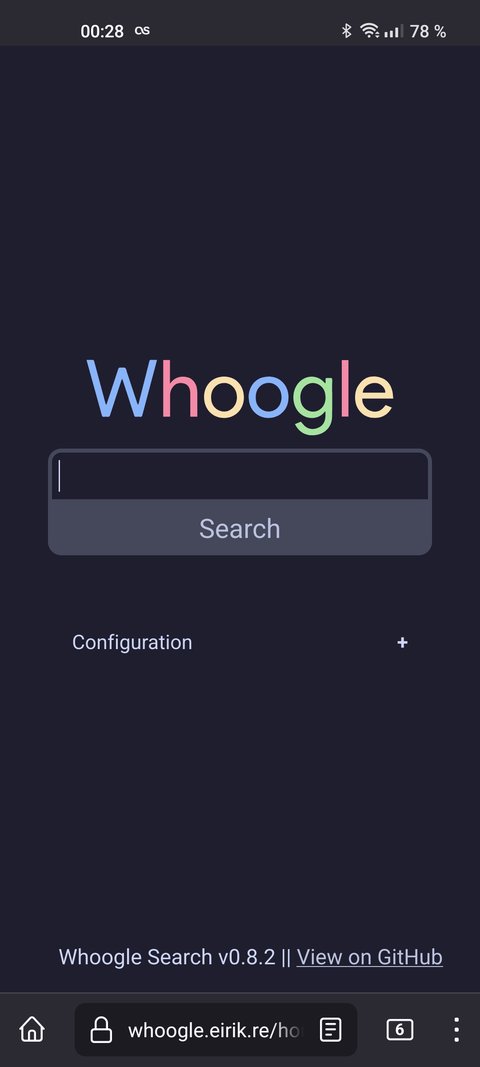
But that ends today, as I am now running my own version of the Whoogle search engine on my server via docker, that I can access from anywhere as the subdomain whoogle.eirik.re.
Whoogle
Whoogle is a nice open source project that is “a self-hosted, ad-free, privacy-respecting metasearch engine”. It can be installed in a number of ways: from source, via PyPI or via docker, to name a few.
Running it on my computers via docker and accessing it on
http://localhost:5000 has been my go-to way for a long time,
but that leaves my phone out of the fun, so this is the attempt to have a complete
set-up for all my devices at once.
Dockerize env
Before setting up the docker image, let us first figure out how we can easily configure this via environment variables. Whoogle support many of them, so it’s good to know how to deal with that right away.
One issue is when setting the colour theme, which spans many lines, since docker cannot
pass newlines from variables in --env-file
files. We solve this with a handy little
script called dockerize-env. It’s
described how to use it in the script, but in short, you define all variables in .env:
WHOOGLE_CONFIG_LANGUAGE=lang_no
WHOOGLE_CONFIG_COUNTRY=NO
WHOOGLE_CONFIG_BLOCK="w3schools.com,w3schools.blog,w3schools.in,w3schools.io,w3schools.me"
WHOOGLE_CONFIG_DARK=1
WHOOGLE_CONFIG_GET_ONLY=1
Then you run
dockerize-env .env
source .env.exported && docker run --env-file .env.vars <my_container>
Docker
So what is the container we are running? The image is called benbusby/whoogle-search,
so we first pull it down with
docker pull benbusby/whoogle-searchbefore we fix our environment variables and start the container:
dockerize-env .env
source .env.exported && docker run --publish 5000:5000 --detach --env-file .env.vars --name whoogle-search benbusby/whoogle-search:latest
At this point, a whoogle search should be available at
http://localhost:5000!
Self-hosting
The tricky part for me was to understand how I would take this to my server where I am running Nginx as a reverse proxy server with https using certbot, when I am not just pointing to local files, but are running software in a container. Suddenly you have to deal with the IP address of the container and different ports that the image expects.
Nginx and setting up a website
I first got started with my website by following along the guide at
landchad.net, which is why I’m using Vultr and Nginx (and
Epik) in the first place. This also means that my static site
at eirik.re is configured via a file in /etc/nginx/sites-available/ as
server {
        listen 80 ;
        listen [::]:80 ;
        server_name eirik.re ;
        root /var/www/eirikre ;
        index index.html index.htm index.nginx-debian.html ;
        location / {
                try_files $uri $uri/ =404 ;
        }
}
So, what do we need to adjust in this to have a new file for our whoogle subdomain?
Putting it all together
From the domain registrars point of view, I didn’t need to do anything. Following the landchad.net guide will make us redirect all subdomains to nginx, and if they are not configured, show us the default error message:

You can see a live example by visiting any subdomain that is not yet configured, for example no-subdomain-here.eirik.re.
Therefore, after running the commands from before, but this time on my server
dockerize-env .env
source .env.exported && docker run --publish 5000:5000 --detach --env-file .env.vars --name whoogle-search benbusby/whoogle-search:latest
I checked which IP address the docker container was using:
$ ip a
...
3: docker0: <BROADCAST,MULTICAST,UP,LOWER_UP> mtu 1500 qdisc noqueue state UP group default
    link/ether 02:42:55:9c:07:3c brd ff:ff:ff:ff:ff:ff
    inet 172.17.0.1/16 brd 172.17.255.255 scope global docker0
       valid_lft forever preferred_lft forever
    inet6 fe80::42:55ff:fe9c:73c/64 scope link
       valid_lft forever preferred_lft forever
...
The ip a command gives a lot of output, but you can find docker listed there, and
after inet on the second line of the docker block, we find the IP address as
172.17.0.1! From the Whoogle README we actually do get an Nginx configuration
file that “works”, but having the
actual IP address was crucial to get certbot to accept it. So we make a tiny change to
the config file, so that it now reads
server {
  server_name whoogle.eirik.re;
  access_log /dev/null;
  error_log /dev/null;

  location / {
      proxy_set_header X-Real-IP $remote_addr;
      proxy_set_header X-Forwarded-For $proxy_add_x_forwarded_for;
      proxy_set_header X-Forwarded-Proto $scheme;
      proxy_set_header Host $host;
      proxy_set_header X-NginX-Proxy true;
      # proxy_pass http://localhost:5000;
      proxy_pass http://172.17.0.1:5000;
  }
}
The important change here is that instead of using localhost, we use the IP of our
docker container. (I also tried to use both proxy_pass variables, but that doesn’t
work. You can only have one proxy_pass variable.) We then save this to
/etc/nginx/sites-available/whoogle and symlink it to sites-enabled with
ln -s /etc/nginx/sites-available/whoogle /etc/nginx/sites-enabled/Let us now restart Nginx so that it is aware of our new site
systemctl reload nginxand then run certbot to get our certificates and make the site use https
certbot --nginxLet us spectate the greate success!


Resources
To get it all working, some guides were particularly useful, other than what I have linked to throughout the post so far. This guide on the nginx reverse proxy is super useful to understand what should go in the Nginx configuration file, and then the same site has a guide on how to set up whoogle search with docker. Still, the maybe most useful to me was to watch this guy do this exact thing, but using GUIs instead of the command line.